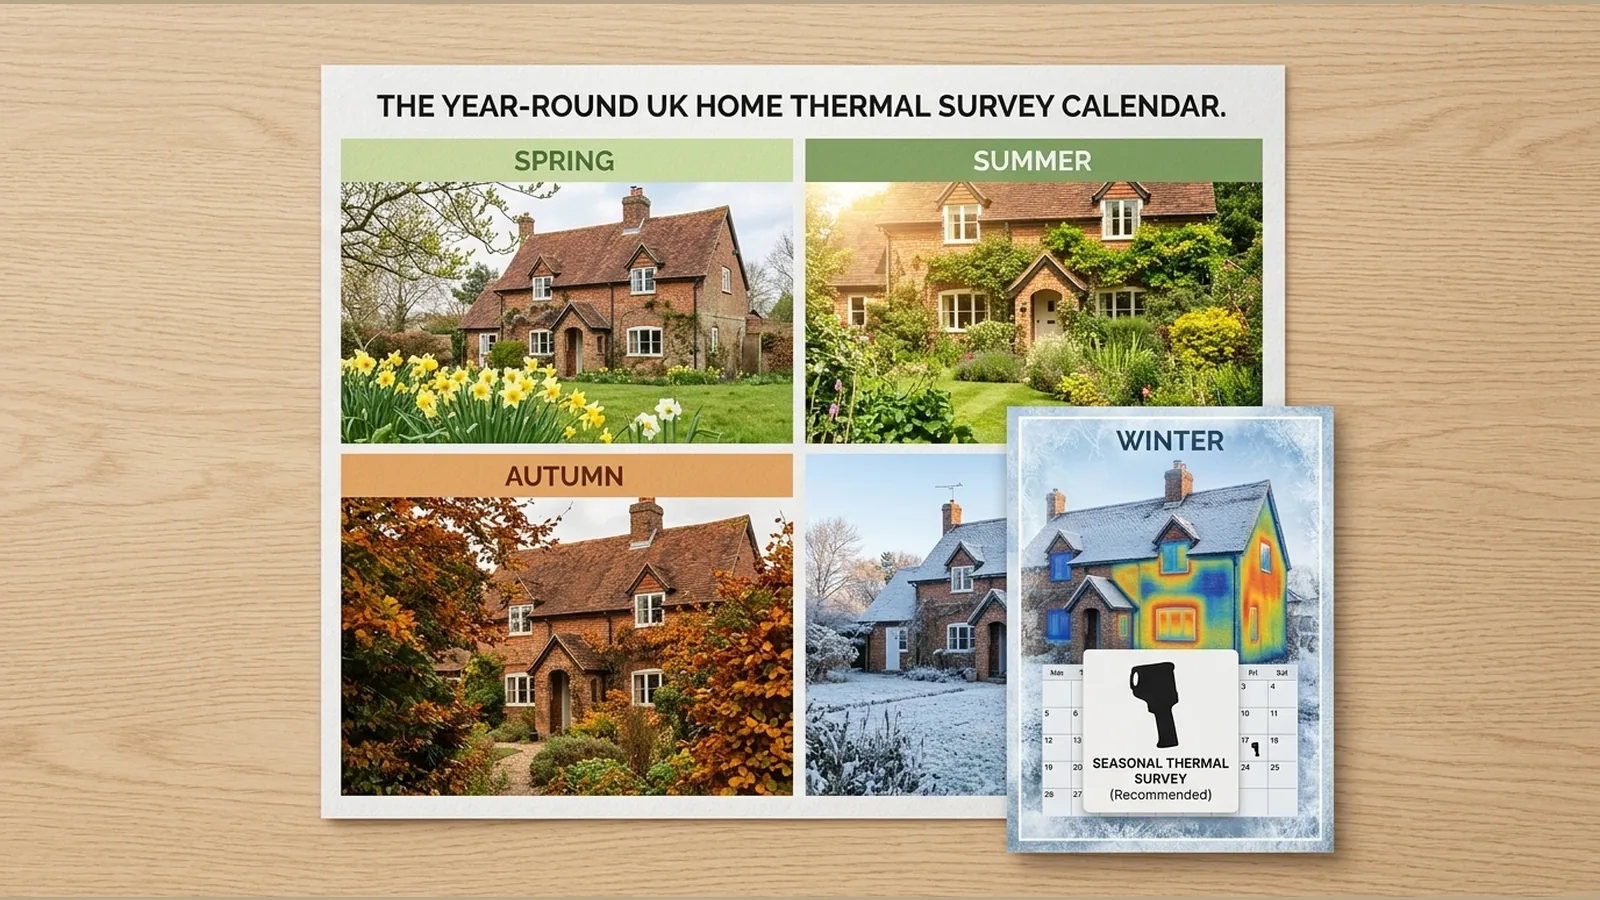
Thermal camera seasonal home survey calendar for UK households
A thermal camera seasonal home survey calendar helps UK households plan heat-loss checks when indoor–outdoor temperature differences are useful, treat thermal patterns as screening clues only, and schedule sensible follow-up rather than treating a single scan as proof of damp, wiring faults or insulation failure.
What thermal imaging can and cannot show
Thermal imaging can help reveal colder patches that may relate to draughts, insulation gaps or heating issues, especially when the outdoor temperature is colder and the contrast is clearer. Local guidance also notes that images need careful interpretation and that findings should lead to appropriate follow-up, not snap conclusions.
Patterns on a screen are clues for further checking. They are not proof of damp, electrical defects, insulation failure or any regulatory compliance outcome. Avoid reading numbers on a display as confirmed building diagnostics unless a suitably trained person reviews them.
- Useful for spotting cold spots and uneven surface temperatures during a planned home survey.
- Not a substitute for damp surveys, electrical inspection or building-regulation assessments.
- Results improve when you allow a substantial indoor–outdoor temperature difference and you understand how to read the image.
For background on what councils say thermal cameras can show, see East Cambridgeshire’s Thermal Camera Loan Scheme guidance, South Cambridgeshire’s thermal imaging cameras advice, and Bracknell Forest’s note on borrowing a thermal imaging camera.
Autumn preparation
Use early autumn to prepare rooms and routines before the coldest weather arrives. Walk the house with a simple plan: which façades, loft hatches, external doors and radiator zones you will check later, and where you will stand so each view is repeatable.
- List priority rooms and external walls you want to compare across the season.
- Note how you heat the home so winter scans use a similar heating pattern.
- Clear access to loft hatches, meter cupboards and external doors so survey evenings stay short and consistent.
- Decide how you will store photos and notes so spring follow-up is easier.
Winter survey windows
Winter is usually the most practical window for a home heat-loss style check because colder outdoor air widens the temperature difference that makes draughts and insulation gaps easier to see. Aim for evenings or cold spells when indoor heating has been on long enough for surfaces to settle, then scan the same elevations you marked in autumn.
South Cambridgeshire’s guidance stresses a substantial indoor–outdoor difference and the value of training to interpret images. Keep sessions brief, work room by room, and treat unexpected cold bands as prompts for later inspection rather than instant diagnoses.
Spring follow-up
In spring, revisit the cold spots and notes from winter while the heating season is still fresh in mind. Compare whether a patch still appears after weather has mildened, and decide what practical follow-up is proportionate—sealing an obvious draught path, checking loft insulation coverage, or booking a specialist where patterns remain unclear.
Bracknell Forest’s library scheme message is useful here: thermal imaging can help identify cold spots and insulation gaps, but findings need appropriate follow-up. Spring is for action lists, not for inventing performance claims about any particular camera.
Weather-dependent checklist
Use this winter thermal imaging checklist as a weather-dependent companion to your home heat loss survey season plan.
- Prefer colder outdoor conditions so surface contrasts are clearer.
- Keep indoor heating reasonably steady before you start.
- Scan the same walls, windows and loft access points you listed in autumn.
- Note wind, rain and recent sunlight, which can change surface temperatures.
- Mark cold spots on a simple floor plan instead of relying on memory.
- Plan follow-up for anything that looks like a draught path or insulation gap; do not treat the image as final proof.
Record and compare safely
Good records make a thermal inspection calendar UK households can reuse year to year. Capture the date, outdoor conditions in plain language, which rooms were heated, and where you stood for each view. Compare like with like: same elevation, similar heating, and similar weather class.
- Store images with short captions rather than relying on filenames alone.
- Avoid publishing or sharing images that imply certified diagnostics you have not obtained.
- If you use a handheld infrared thermal imager such as the MILESEEY TR10 (approximate body size 224 × 91 × 76 mm), keep notes factual and avoid unverified range, accuracy or battery claims.
- Independent-site purchases of this model are covered by a 12-month warranty term; coverage start, exclusions and claims steps are not detailed here.
Next step
If you want a compact handheld infrared thermal imager for seasonal home checks, review the current MILESEEY TR10 product details and match the device to a calm survey calendar rather than a one-off scan.
FAQ
When is the best season for a home thermal survey in the UK?
Cold outdoor periods in late autumn and winter usually give clearer contrast for spotting draughts and insulation gaps, provided indoor heating creates a useful temperature difference and you interpret images cautiously.
Can a thermal camera prove damp or failed insulation?
No. Thermal patterns are screening clues. Cold spots may suggest further checks, but they are not proof of damp, wiring defects, insulation failure or compliance.
What should I do after I find a cold spot?
Record the location, compare it under similar conditions, then arrange proportionate follow-up—simple draught sealing, insulation checks, or professional advice where the cause remains uncertain.
Do I need training to read thermal images?
Local authority guidance recommends understanding how to interpret thermal images and allowing a substantial indoor–outdoor temperature difference before you rely on what you see.