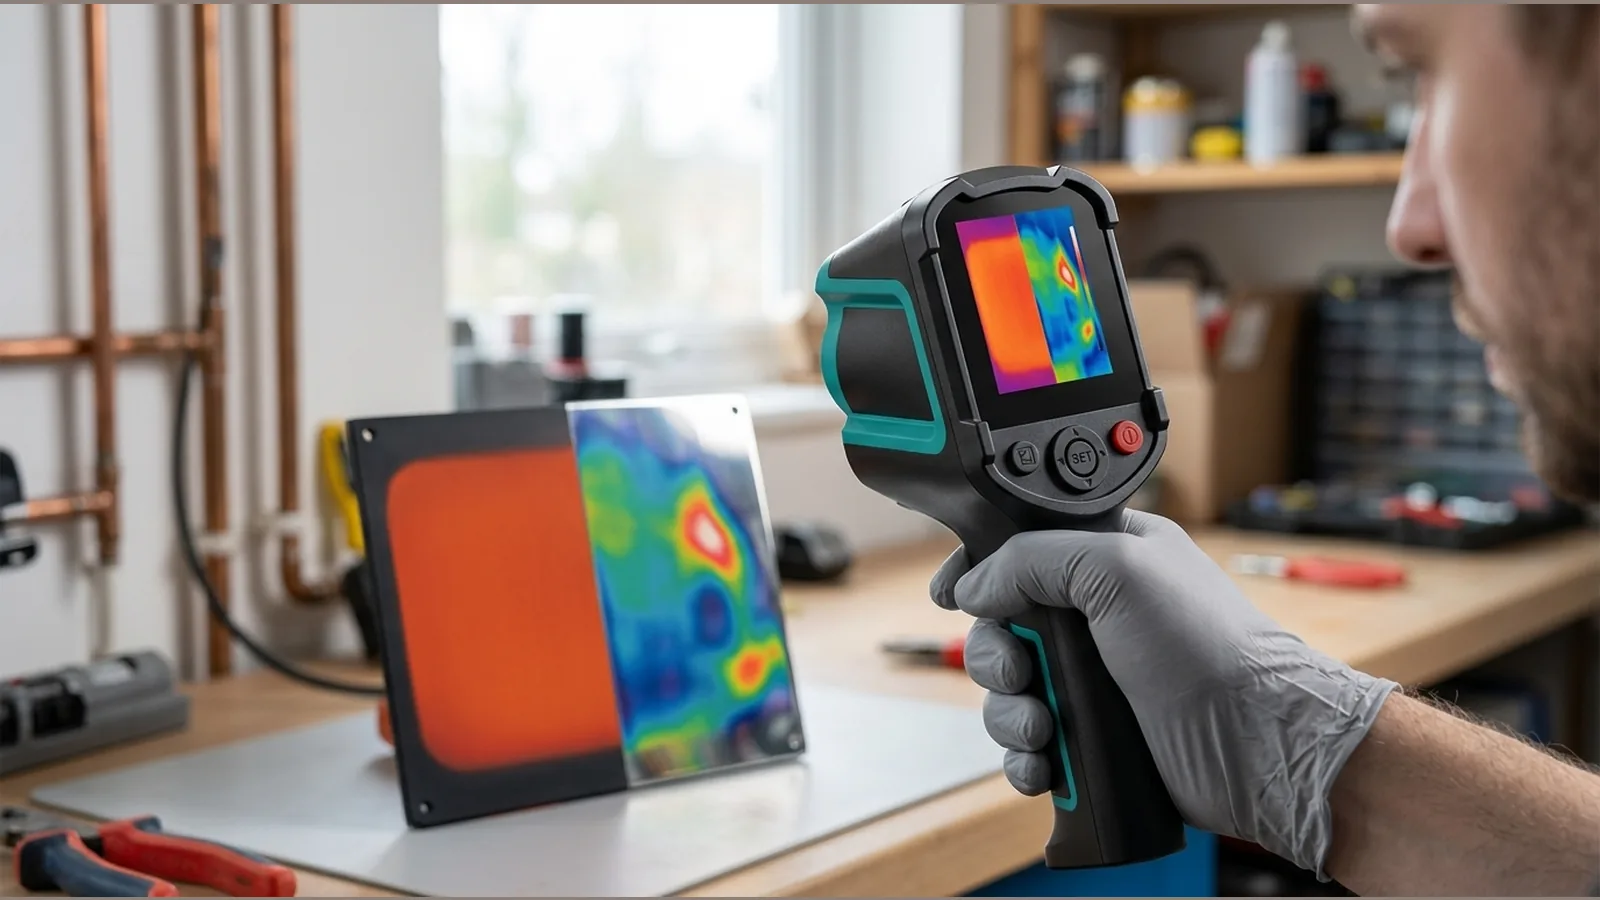
How Emissivity Affects Thermal Camera Readings: A Practical Guide
Direct answer
How emissivity affects thermal camera readings is straightforward: the camera measures infrared radiation, and emissivity describes how strongly a surface emits that radiation compared with an ideal black body. If the emissivity setting does not match the surface—or if reflected radiation from nearby objects is ignored—the apparent temperature on screen can be misleading even when the instrument is working correctly.
Why surfaces emit and reflect differently
Every real surface both emits and reflects infrared energy. High-emissivity surfaces radiate more of their own thermal energy; low-emissivity surfaces reflect more of what surrounds them. That is why FLIR’s guidance on emissivity and thermal imaging stresses that surface material and reflected temperature must be considered together when you interpret an image.
FLIR’s advice on using a thermal camera likewise emphasises configuring the instrument with attention to the target and the measurement conditions, rather than treating a single colour map as a finished answer.
High- and low-emissivity examples
In everyday industrial and building checks, painted or oxidised finishes, many plastics, rubber, wood and most building materials behave as relatively high-emissivity surfaces, so their thermal pattern is more likely to represent the surface itself. Bare metals, polished stainless steel, aluminium foil and shiny coatings often behave as low-emissivity surfaces: they can mirror warmer or cooler objects nearby and make a spot look hotter or colder than the material actually is.
When you change from a matt painted panel to a bright metal fitting in the same scene, expect the apparent temperatures to behave differently even if both parts have been in the same environment. Adjusting for emissivity and noting reflected temperature is part of reading the scene, not an optional extra.
Repeatable setup checklist
FLIR’s thermographic measurement techniques describe why measurements need a repeatable method that controls distance, angle, reflections and surface conditions. A practical checklist looks like this:
- Identify the material finish before you trust a numeric reading.
- Set emissivity to match the surface you are measuring, and note when you switch materials.
- Account for reflected temperature from walls, heaters, lights or open sky that the surface may be mirroring.
- Keep a consistent working distance and viewing angle; avoid steep glancing angles on shiny parts.
- Prefer matt, clean areas of the target; avoid measuring through glass, film or heavy condensation when you need a surface reading.
- Record the same setup notes each time so later images can be compared fairly.
When not to trust a single reading
Do not treat one frame as proof of damp, wiring faults, insulation failure or regulatory compliance. Thermal patterns are screening clues: they show relative differences that still need context, a sound setup and, where decisions matter, further inspection by an appropriate method.
Be especially cautious with mixed scenes—metal next to painted surfaces, reflective plant rooms, or targets that have just been touched, heated by sunlight or cooled by draughts. A reading taken without matching emissivity and reflection conditions can look decisive and still be wrong for the decision you want to make.
Soft product next step
If you need a compact handheld infrared thermal imager for object temperature screening on site, the MILESEEY TR10 is listed as a handheld model with public-safe outline dimensions of 224 × 91 × 76 mm and a 12-month warranty term on this site. Use it as a practical tool for comparing surfaces once you have set emissivity and measurement conditions carefully—not as a substitute for verified specifications you have not confirmed yourself.
Review the MILESEEY TR10 handheld infrared thermal imager product details when you are ready to check fit for your workflow.
FAQ
Why does a shiny metal part look colder or hotter than nearby paint?
Low-emissivity metal reflects more of the surrounding infrared scene. The camera may be showing that reflection rather than the metal’s own temperature unless emissivity and reflected temperature are handled properly.
Should I change emissivity for every material in one survey?
Yes, when you move between finishes that emit differently. Leaving one setting across dissimilar surfaces is a common reason readings disagree with expectations.
Can a thermal image alone prove a defect?
No. Patterns can flag areas worth checking, but they are not proof of damp, electrical faults, insulation failure or compliance on their own.
What product facts are confirmed for the TR10 on this page?
Public-safe facts used here are limited to category (handheld infrared thermal imager), model TR10, dimensions 224 × 91 × 76 mm, and a 12-month warranty term. Unverified performance figures are not published in this guide.