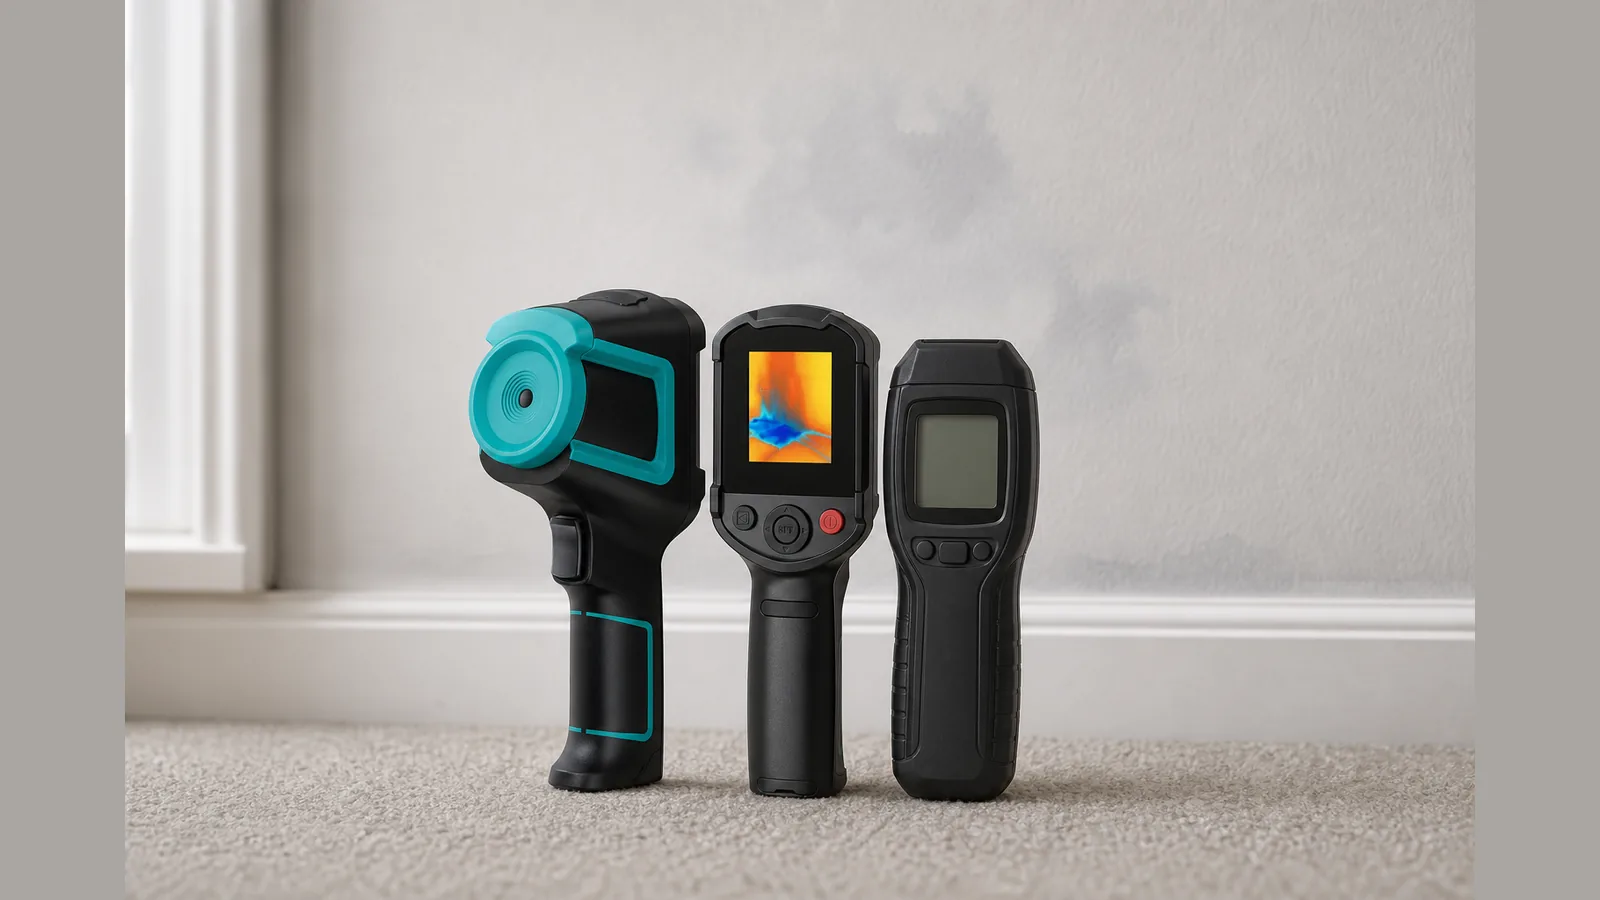
thermal camera vs moisture meter for damp clues
A thermal camera vs moisture meter for damp clues is not an either-or choice: thermal imaging highlights surface temperature patterns that may point to cold spots, draughts or insulation gaps, while a moisture meter checks how wet a material appears to be at the contact point. Used together with care, they give complementary screening clues rather than proof of damp or fabric failure.
Direct comparison
A handheld infrared thermal imager such as the MILESEEY TR10 shows relative warmth and coolness across surfaces. Local authority guidance notes that thermal cameras can reveal draughts, insulation gaps and heating problems, and that a colder outdoor temperature often improves home-survey results. A moisture meter, by contrast, reports a local reading where the probes or sensor touch or press against the material.
In short: the camera maps temperature patterns over an area; the meter samples moisture-related response at selected spots. Neither tool alone confirms the cause of staining, mould or musty smell.
What a thermal pattern represents
A colder patch on a thermal image can mean several things—air leakage, thinner insulation, a cold bridge, a wet surface that is cooling differently, or simply an unheated area. South Cambridgeshire advises a substantial indoor–outdoor temperature difference and training to interpret thermal images. Patterns are screening clues; they are not proof of damp, wiring defects, insulation failure or regulatory compliance.
Bracknell Forest likewise notes that thermal imaging can help identify cold spots and insulation gaps, but the findings need appropriate follow-up. Treat unusual cold or warm patches as prompts for closer checks, not as a finished diagnosis.
What a moisture reading represents
A moisture meter reading reflects conditions at the measurement point and depends on material type, surface finish, meter mode and how the reading is taken. A high reading may suggest elevated moisture, but it does not by itself explain where water came from, how deep the problem runs, or whether the cause is condensation, penetrating damp or a plumbing leak.
Readings should be compared with nearby dry reference areas on the same material where practical, and recorded alongside notes on weather, heating and ventilation at the time of the check.
Side-by-side limitations table
| Aspect | Thermal imaging | Moisture meter |
|---|---|---|
| What it mainly shows | Surface temperature patterns across an area | Local moisture-related response at contact points |
| Useful for | Finding cold spots, draught paths and insulation unevenness as clues | Checking whether a suspect patch reads wetter than nearby material |
| Does not prove | Damp, mould cause, wiring faults or compliance | Source of water, depth of damage or long-term risk on its own |
| Key condition | Meaningful indoor–outdoor temperature difference; careful interpretation | Correct material context and consistent measuring method |
| Best next step after a clue | Targeted moisture checks and visual inspection | Wider mapping, building context and, if needed, specialist advice |
A cautious two-step workflow
- Screen with thermal imaging. When indoor and outdoor temperatures differ enough, scan walls, ceilings, window reveals and junctions. Mark cold patches, draught lines and uneven areas without assuming they are wet.
- Confirm with moisture checks. On marked spots and nearby reference areas of the same material, take moisture-meter readings and note surface condition, smell and any visible staining.
If thermal cold spots and higher moisture readings align, you have a stronger lead for further investigation. If they diverge—for example a cold patch that reads dry—consider insulation, air movement or surface temperature effects before assuming damp.
When specialist assessment is needed
Call in a suitably qualified surveyor, damp specialist or other professional when clues point to structural moisture, suspected leaks you cannot locate safely, recurring mould, tenant or landlord disputes, or any situation where health, safety or legal decisions depend on the outcome. Tool clues support investigation; they do not replace professional assessment where stakes are high.
Next step
If you are assembling a cautious damp-screening kit and want a handheld infrared thermal imager for the temperature-pattern step, review the MILESEEY TR10 handheld infrared thermal imager details. The TR10 measures approximately 224 × 91 × 76 mm and is sold with a 12-month warranty term; use it as a screening aid alongside a moisture meter, not as a standalone damp verdict.
FAQ
Can a thermal camera replace a moisture meter for damp clues?
No. A thermal camera highlights temperature patterns that may relate to draughts, insulation gaps or cold surfaces; a moisture meter checks local wetness indicators. For thermal camera vs moisture meter for damp clues, the stronger approach is sequential screening, not substitution.
Why do cold patches appear when the wall is dry?
Cold bridges, air leakage and uneven heating can cool a surface without raising moisture. That is why follow-up moisture readings and context matter.
When are home thermal surveys more informative?
Public guidance notes that a colder outdoor temperature improves home-survey results and that a clear indoor–outdoor temperature difference helps interpretation. Still treat images as clues that need appropriate follow-up.
What product facts are confirmed for the TR10 on this page?
It is a handheld infrared thermal imager, model TR10, with public-safe dimensions of 224 × 91 × 76 mm and a 12-month warranty term. Unverified performance figures are not stated here.